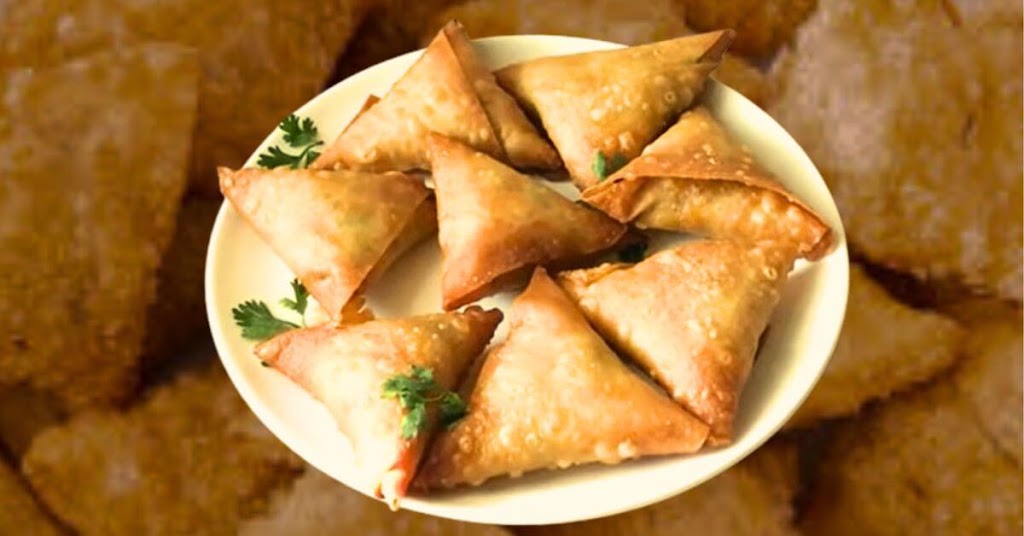
Who can resist the allure of a perfectly crisp samosa, its flaky exterior giving way to a burst of flavorful stuffing inside? Originating from the Indian subcontinent, these triangular delights have found their way into hearts and cuisines around the world. While you can find samosas in restaurants and street corners, nothing beats the joy and satisfaction that comes with making them at home. So, are you ready to embark on a cooking adventure and master the art of homemade samosa? Let’s get started!
Choosing the Right Ingredients
At the heart of every delicious samosa lies a symphony of fresh ingredients and aromatic spices. Here are the essentials:
1. Fresh Produce
Start with fresh, quality produce for your fillings. Whether it’s succulent meat, hearty potatoes, or crunchy peas, ensure they’re fresh and adequately prepped.
2. Spices and Flavorings
No samosa is complete without a generous dose of spices. Key players include cumin, coriander, garam masala, turmeric, and chili powder. Don’t forget the ginger and garlic for that extra kick!
Remember, the best samosas are a balance of flavors. So, while it’s essential to be generous with your spices, ensure each ingredient gets its chance to shine.
Perfecting the Dough
The outer shell of a samosa is as crucial as its stuffing. Here’s how to make the perfect dough:
1. Ingredients
All you need is all-purpose flour, a pinch of salt, a dash of carom seeds (ajwain), and ghee or oil.
2. Kneading
Combine these ingredients and knead them into a firm dough. It shouldn’t be too soft; otherwise, your samosas won’t have that signature crispiness.
3. Resting
Let your dough rest for about 30 minutes before you start shaping your samosas. This rest period allows the gluten to relax, making the dough easier to roll out.
Mastering the Stuffing
The stuffing is arguably the star of the show. Here’s how to ensure your filling is flavorful and well-cooked:
1. Traditional Filling
A traditional samosa filling includes boiled and mashed potatoes, green peas, and a mix of spices.
2. Creative Options
Feel free to experiment with different fillings. How about some paneer (Indian cottage cheese), lentils, or even some spicy chicken?
3. Cooking
Ensure your filling is thoroughly cooked before stuffing it into your samosas. Nobody likes undercooked potatoes!
Frying Techniques
Frying is an art form that can elevate your samosa game. Here are some tips:
1. Heat Control
Keep the heat at a medium when frying your samosas. Too high, and they might burn. Too low, and they’ll become greasy.
2. Batch Frying
Don’t overcrowd your pan. Fry a few samosas at a time to ensure even cooking.
3. Alternative Methods
If you’re health-conscious, you can also bake or air-fry your samosas. While the texture might vary, you’ll still get a delicious outcome!
Serving and Presentation Tips
A well-served samosa can be a feast for the eyes as well as the palate.
1. Accompaniments
Serve your samosas with a side of tangy tamarind chutney or mint yogurt dip.
2. Garnishing
Garnish with some fresh cilantro leaves and a sprinkle of chaat masala for added visual and taste appeal.
Vegetarian Options
Samosas cater to all dietary preferences. If you’re vegetarian or simply want to try a meatless variation, here are some options:
1. Veggie Delight
Use a mix of your favorite vegetables as a filling. It could be a colorful medley of bell peppers, corn, carrots, and peas.
2. Cheese Please
How about a cheese and spinach filling for a fusion twist?
3. Vegan Option
You can easily make vegan samosas by replacing ghee with oil in the dough and opting for a veggie filling.
Conclusion – Homemade Samosa
And there you have it the secrets to crafting perfect homemade samosas. From choosing the right ingredients to mastering the dough, stuffing, and frying techniques, you’re now equipped with the know-how to embark on your samosa-making journey. Remember, the best part about cooking is the freedom to experiment and make it your own. So, don’t hesitate to try different fillings or even shapes. Are you ready to don the chef’s hat and bring the magic of homemade samosas to your kitchen? Go ahead, and let the culinary adventure begin!
FAQs
Q: Can I make samosas ahead of time?
A: Absolutely! You can prepare the dough and stuffing in advance. You can even shape and fill the samosas, and then refrigerate them. When you’re ready to serve, simply fry them up!
Q: I don’t have all the spices; can I still make samosa?
A: Yes! While each spice adds a unique flavor, samosas can still be delicious with fewer spices. The key is to balance the flavors you have.
Q: Can I bake or air-fry samosa instead of deep-frying?
A: Yes, baking or air-frying is a healthier alternative, though the texture may vary slightly. If baking, preheat your oven to 180°C or 350°F and bake for 20-30 minutes or until golden brown. If air-frying, cook at 180°C or 350°F for 10-15 minutes, flipping halfway through. Make sure to brush your samosa with some oil before baking or air-frying.
Q: What can I serve with samosa?
A: Samosa is typically served with chutneys like tamarind or mint-coriander chutney. They also pair well with ketchup or any spicy dip of your choice. You can also serve them as part of a ‘chaat’ – topped with yogurt, chutneys, and spices.
4 thoughts on “How to Make Perfect Homemade Samosa”